|
How to Generate a Report |
 
|
|
How to Generate a Report |
|
UPLINX Report Tool for Amazon generates configuration reports
for Amazon Connect. We aim to support the most recent versions with all
features. Step 1 - Configure Server Access First, it would be best to generate an AWS access key as
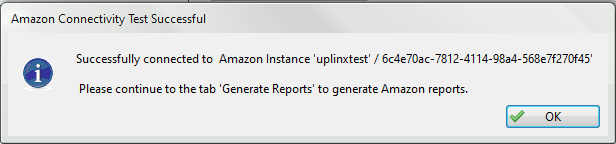
per https://aws.amazon.com/premiumsupport/knowledge-center/create-access-key/. To find the region and the instance ID, please see https://docs.aws.amazon.com/connect/latest/adminguide/find-instance-arn.html. Step 2- Test Server Access Step 3 - Report
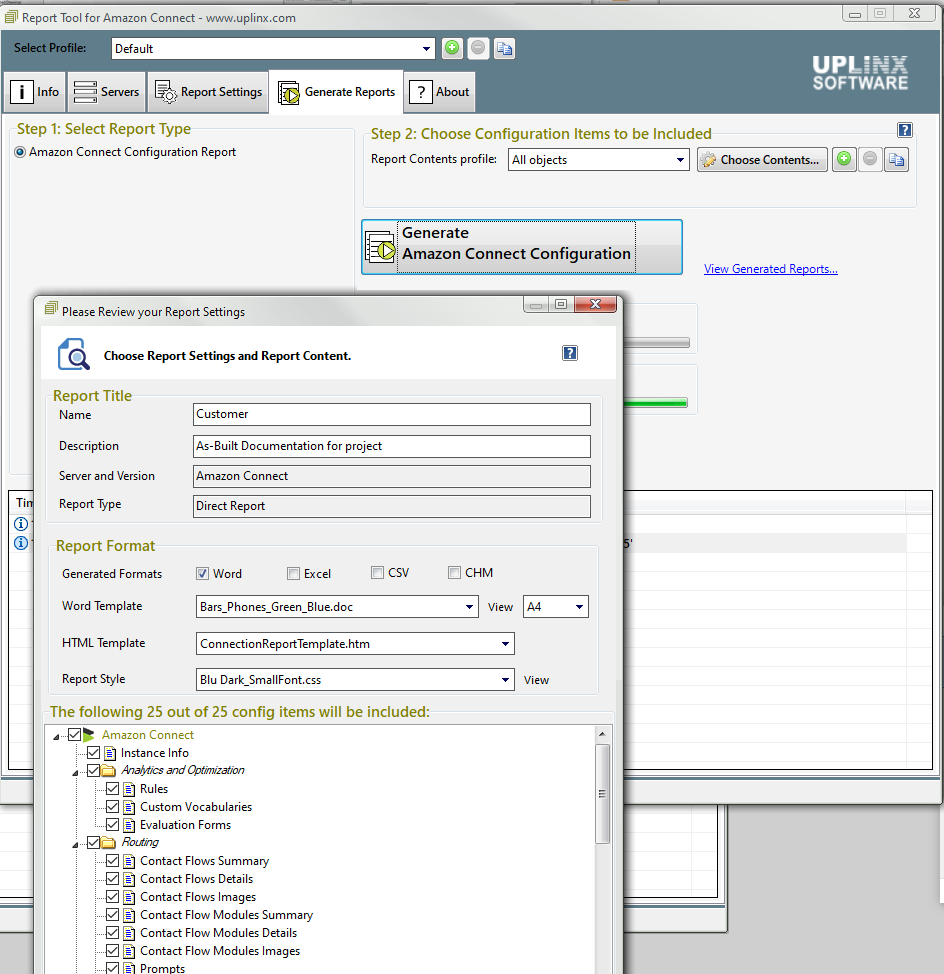
Settings Once all report settings are complete, click “Generate Reports” to
generate the report. As reference for report settings, please see Configure-Report-Format.htm
Step 4 - Generate the
Report
The access key should have read-only permissions.
User and password credentials cannot be
used.
The Amazon API is used
to retrieve configuration data to generate the report.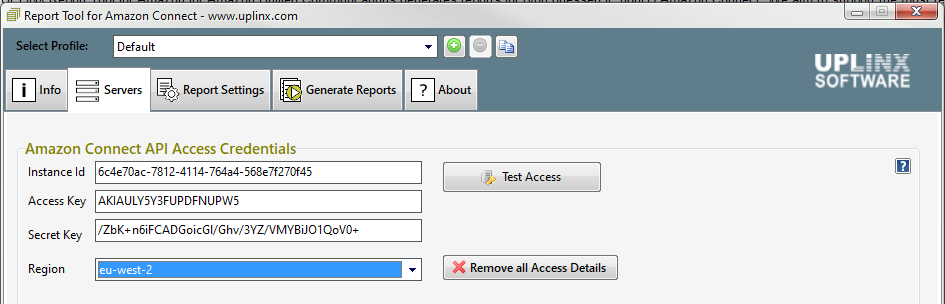
The report settings are important and contain:
Page format
Template used (Microsoft Word and HTML
template)
Color schema
Customer details
Presenter intormation
Title of report
Report file name and output directory
Settings for Contact
Flows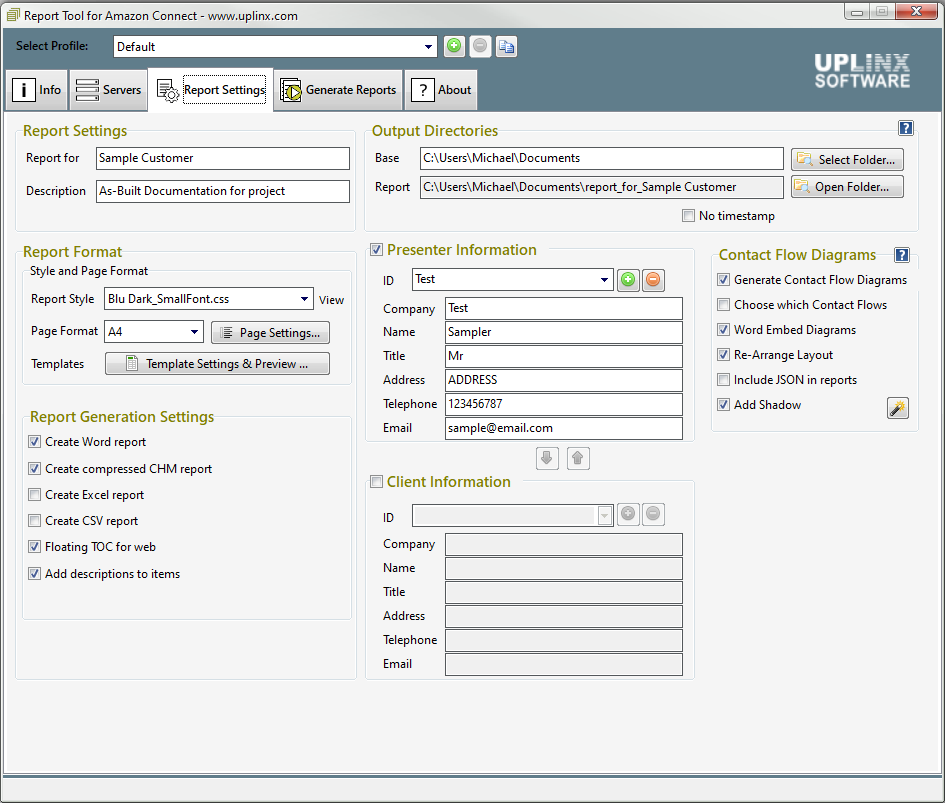
On the tab "Generate Reports" tab, select the server type and click "Generate Reports ". In the upcoming dialog, select the configuration items to be included.
Please see Contact Flow Settings and Configure Report Format for further report settings such as title, customer name, output directory and file name, template settings and how to render contact flows.
To select which contact flows are included, check the option "Choose which contact flows" on the tab Report Settings.