|
The Bulk Screenshot Wizard will connect to a list of phones, capture a screenshot of each phone's screen, and store the images in a local directory and generate a HTML report.
View a full sample screenshot report.
Requirements
1.Currently supported Cisco phones
2.Phones must be registered with CUCM, and the web server (TCP port 80 for HTTP or 443 for HTTPS) of each phone must be enabled and reachable by UPLINX Phone Control Tool.
The tool will ask for your permission to enable the web server of the phone if the phone's web page is not reachable. This will change the phone's configuration in CUCM and requires a (soft-) restart of the phone. When finished, the Phone Control Tool will ask to undo the changes that it has applied, requiring a 2nd phone restart to disable the web server of the phone when it enabled it.
Running the Screenshot Wizard
Watch a brief video of the Screenshot Wizard
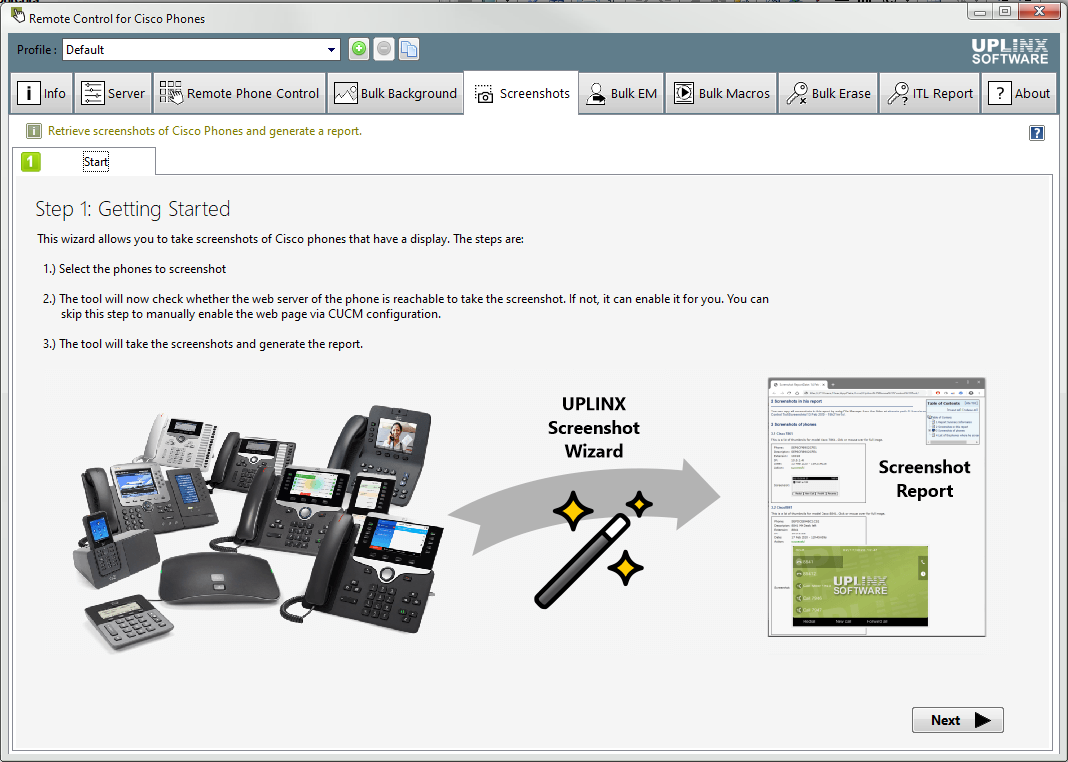
STEP 1: Start Wizard
Click the Screenshots tab to view the start screen that outlines the steps. Click the [Next] button
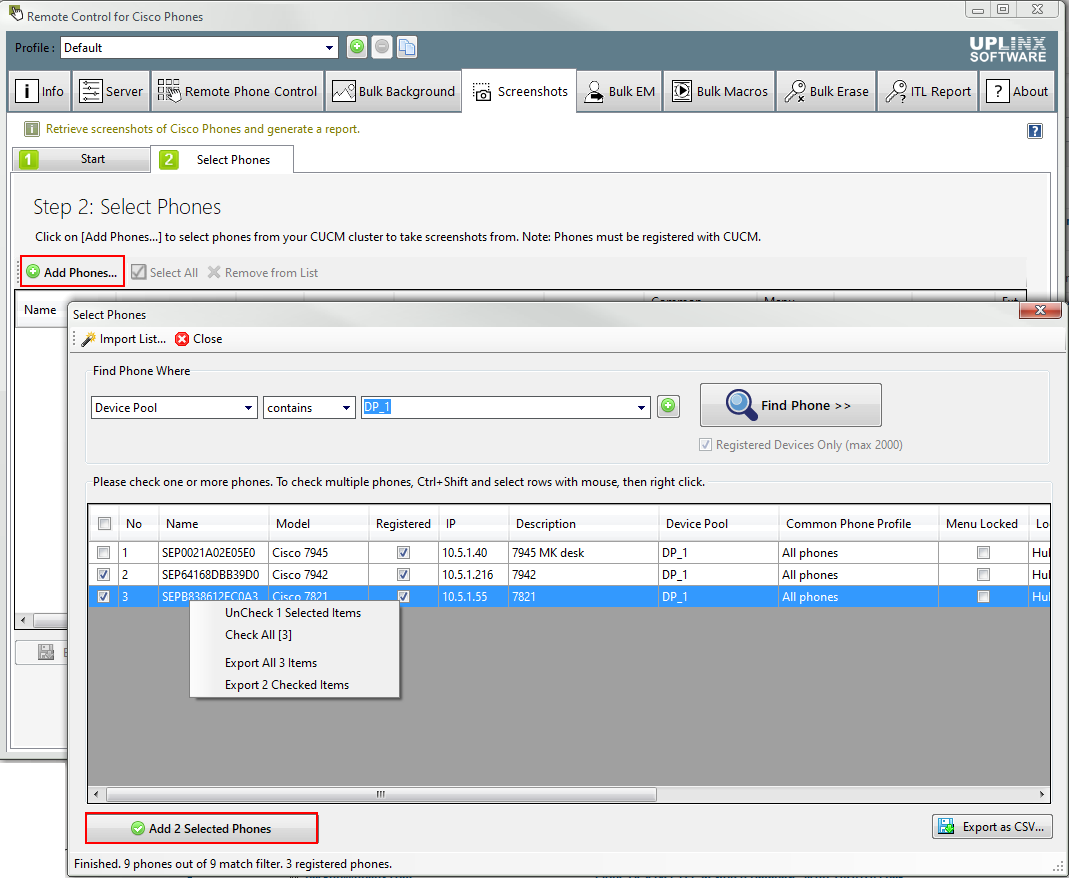
STEP 2: Define a List of Phones
Search for and select the phones you want to screenshot by clicking the [Add Phones...] button.
Use the filter options available in the Select Phones dialog box to filter phones and build up the list of phones to get screenshots from. Once the list is complete, click [Next].
Search
The search is limited to 2,000 phones and will be performed in 2 phases:
1.Search for configured phones to match the search criteria. It is limited to 2,000 matches.
2.Query RIS to find the phone's IP addresses and return only those phones that are registered to CUCM.
Import and Export of Phone Data
Instead of searching for phones, you can also [Import List...] of phone names and export matches with the button [Export as CSV...].
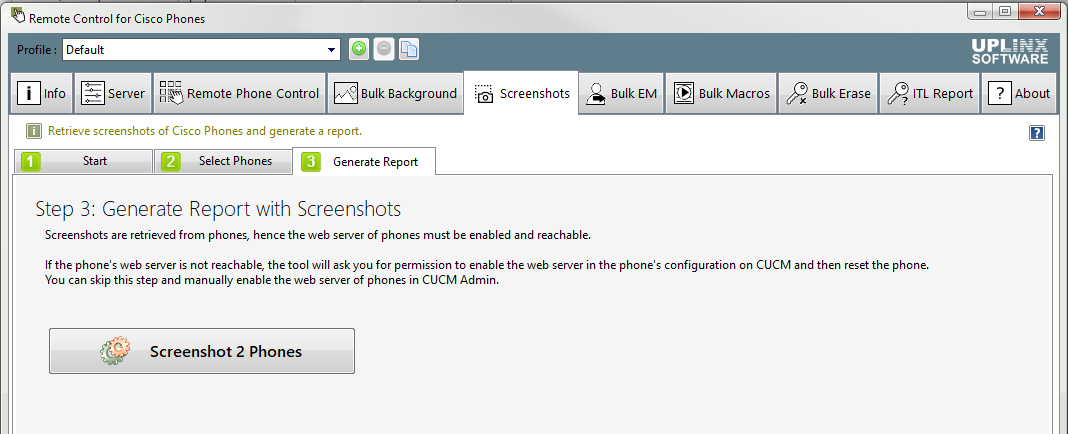
STEP 3: Generate Report with Screenshots
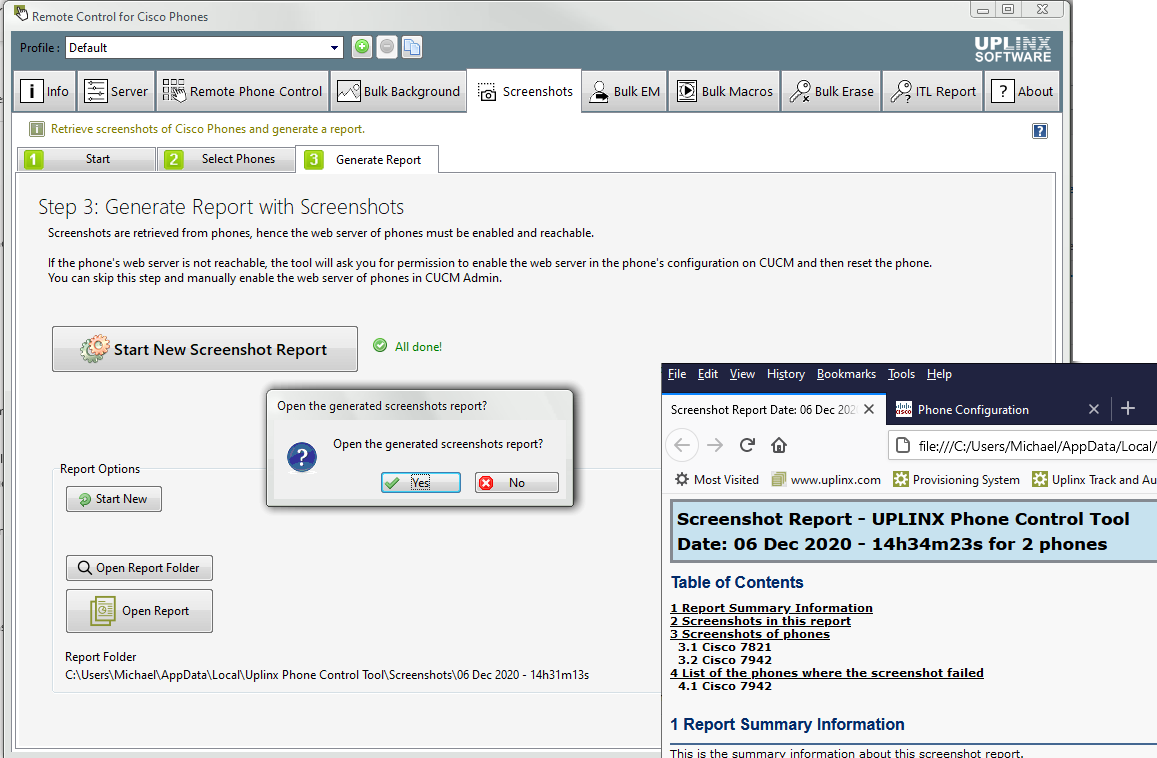
Read the clarifications and proceed to click the big [Screenshot N Phones] button. N is the number of selected phones to screenshot.
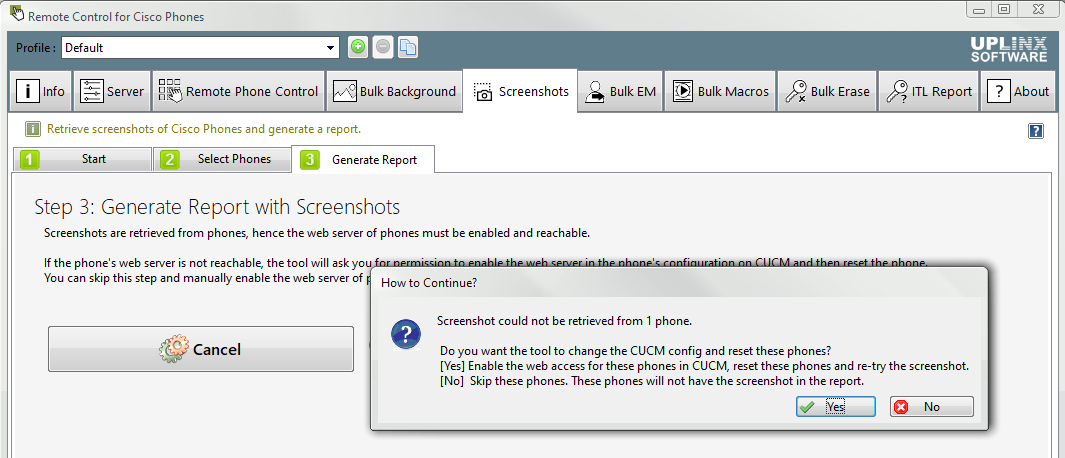
If the tool cannot access a phone's web page, it will:
1.Ask for your permission to enable the web server of the phone if the phone's web page. This will change the phone's configuration in CUCM and requires a (soft-) restart of the phone.
2.When finished, the Phone Control Tool will ask to undo the changes that it has applied, requiring a 2nd phone restart to disable the web server of the phone when it enabled it.
Choose [Yes] to allow the tool to make the configuration changes, or, click [No] to skip the inaccessible phones.
STEP 4: Open the Generated Report
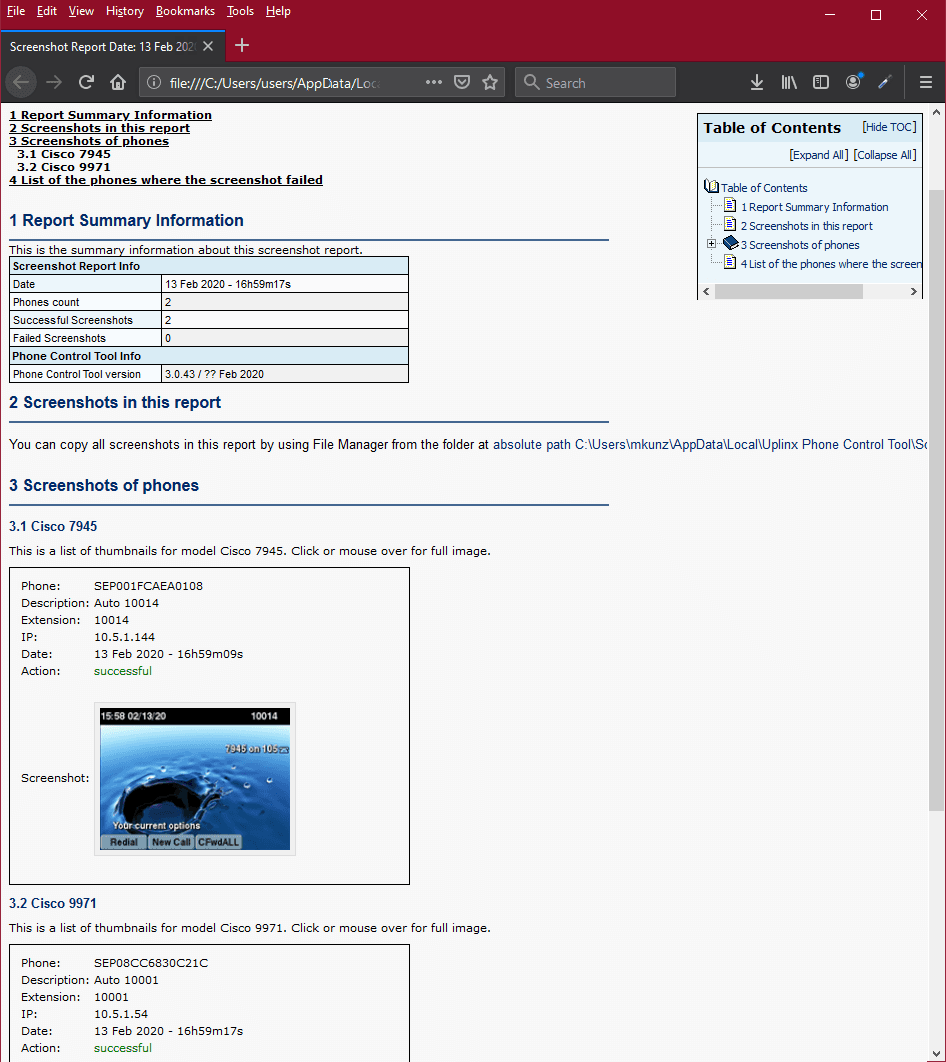
When the operation is finished, the tool will ask you to open an HTML report in your browser with the screenshots.
Generated Sample Report
View a full sample screenshot report
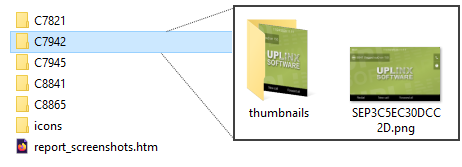
Where are the Images stored?
The retrieved images are stored at C:\Users\%USERNAME%\AppData\Local\Uplinx Phone Control Tool\Screenshots\
You can copy paste this path into File Manager, or, use the button [Open Report Folder] on the final page of the wizard. There is also a link in the HTML report to open this folder.
This folder will contain the screenshot images sorted by model name. The file name is the device name.
Deploying of Background Images
You can use the Bulk Background Images wizard to deploy background images to phones.
|

|
The Bulk Screenshot wizard, along with all other bulk features, requires a Professional or Enterprise license and is not included in the Standard or Basic license.
|
|