|
For a feature overview and introduction, please see  https://www.uplinx.com/phonecontrol/bulk-background-images/. https://www.uplinx.com/phonecontrol/bulk-background-images/.
There are two methods to install and apply wallpaper images (aka background images) to Cisco phones that are supported:
1.Method 1: TFTP Server: Uploading the background images to the CUCM's with role TFTP server.
A XML file with name "List.xml" needs to be created and uploaded with linked image file names (located on the TFTP server) in the correct size per phone model and uploaded to all TFTP servers. Phones are then assigned to the Common Phone Profile (CPP) in the Cisco CUCM phone's config to reference the default image and enable user access to select an image. The phone will then fetch the XML file when it reconfigures and downloads the listed image by using the TFTP protocol from the Cisco TFTP server.
2.Method 2: Upload to phone's flash: Uploading the background image directly to each phone's flash memory. This is the traditional method that was once called phone personalization but is now obsolete as Cisco phone software no longer supports it.
Previously, UPLINX Phone Control Tool used method 2 "Upload to phone's flash" (aka phone personalization). This method is the traditional and now obsolete phone personalization that only has limited support in newer phone software and hence UPLINX has implemented a wizard to deploy phone images with method 1 "TFTP Servers". The previous method 2 "Upload to phone's flash" remains available in older versions of the program V3.0.41 and prior. Please note that due to issues experienced in method 2, UPLINX does not provide support for this deployment method going forward. Older versions of UPLINX Phone Control Tool can be downloaded here .
In recent releases, UPLINX Phone Control Tool uploads the background images to the CUCM's with role TFTP server and assigns phones to the Common Phone Profile (CPP) in the Cisco CUCM config. Going through CUCM is more stable and when phones settings are erased or new phones are added using a configured CPP, the background image will be applied automatically.
Using the UPLINX Background Image Deployment Wizard
You can watch brief videos for the following common image deployments:
1.Watch video to deploy single background video (company logo on screen of phone)
2.Watch video to deploy multiple background images that user can choose or not (with default company logo preset)
Step 1: Getting Started
Go to the Bulk Background tab and select one of the following 2 supported deployment scenarios:
•Deployment Scenario A: Deploy a single image to appear on the phone screens, for example a corporate logo

•Deployment Scenario B: Deploy multiple images as wallpaper selection for all phone wallpaper menus.
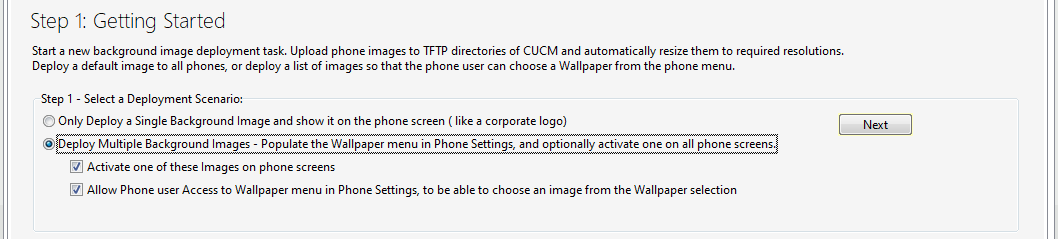
•Option 1: Set one of the images to immediately appear on the phone screens without the user selecting a wallpaper. This is optional. If unchecked, no image will show after the wizard has run but the phone user can select a wallpaper out of the uploaded images when option 2 is checked.
•Option 2: Allow phone user access to the 'Wallpaper settings' within the phone settings. If this option is selected, when new phones are added to the Common Phone Profile (CPP) later on, they will not inherit the wallpaper image. You will need to run this wizard again to set the active image for new phones associated with the Common Phone Profile.
|

|
The list of wallpaper images will be uploaded to all TFTP servers and made available to all phone models via the List.xml file, replacing any previous wallpapers.
|
The Access Credentials section appears. The tool already has AXL access configured under the Server tab. To deploy background images, it requires 2 more sets of credentials to access and manage files on the TFTP server:
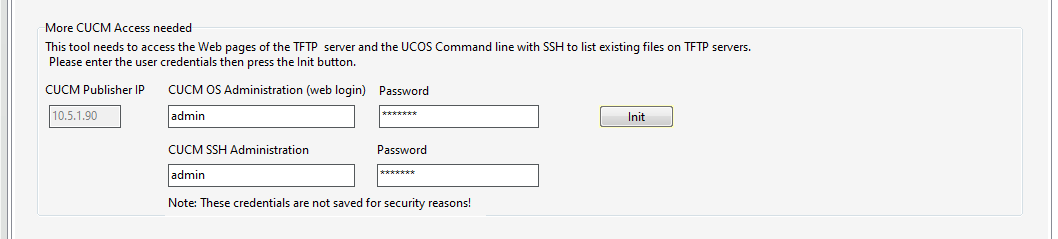
•The CUCM OS Administration user (web login) and password
•CUCM SSH Administration user and password
•Note that because of security concerns Phone Control Tool will not save these credentials, and they will have to be entered for each deployment.
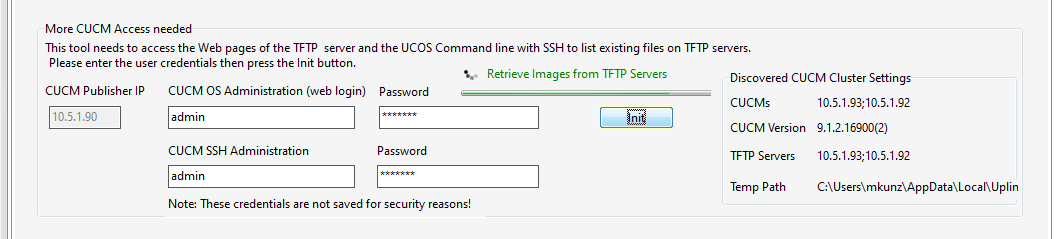
After entering these details, click on the [Init] button to test access and retrieve the existing image list of files as show below. Then press [Next].
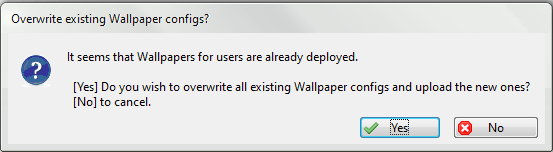
If you are deploying multiple background images, the tool will check to see if there was a previous wallpaper menu set. If it finds one, it will ask if it should overwrite the existing wallpaper list. The new wallpaper images will replace the Phone Wallpaper list with the new selection. It will not maintain or add to the current wallpaper list . If you answer [Yes] it will proceed to replace all phone wallpaper lists. It will prompt a second time to make sure you have understood this limitation.
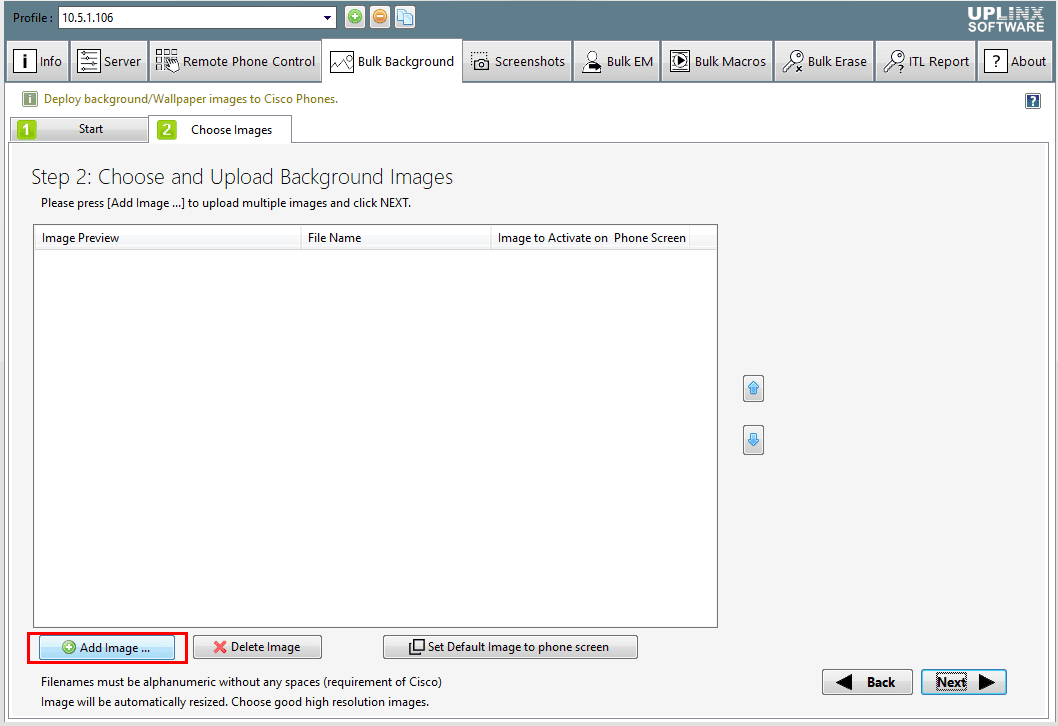
Step 2: Choose and Upload Background Images
Use the button [Add Image...] to select one or multiple image files to be deployed. Image files need to be at least as large as the highest resolution and of good quality. Use PNG or other formats without lossy compression. Avoid JPEGs as it uses lossy compression.
Please note that filenames must use alphanumerical characters only, with no spaces. This is a Cisco requirement. Images will be automatically resized and cropped to all required screen resolutions.
If you are uploading multiple images, in Step 1 you have chosen whether or not to set an image as phone background during deployment. Choose the image to be activated on the phone screen by selecting the image and then click the button [Set Default Image to phone screen].
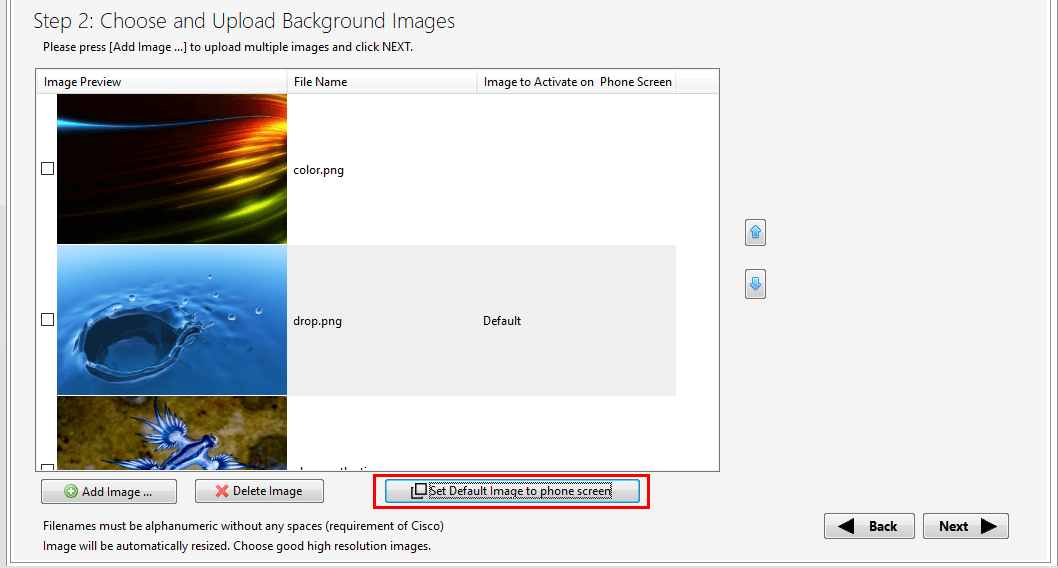
•With multiple images, you can define the order in which they appear on the wallpaper menu in the phone settings using the up and down arrows.
•Click [Next] for the images to be resized and uploaded to the TFTP server directories.
Step 3: Set Common Phone Profile
Common Phone Profiles (CPP) hold many settings for the phones they are assigned to. If you use an existing CPP, the Bulk Background Image deployment will affect all phones that use the selected CPP. You can create a new CPP by duplicating an existing one, and assign it to a list of phones in the next step.
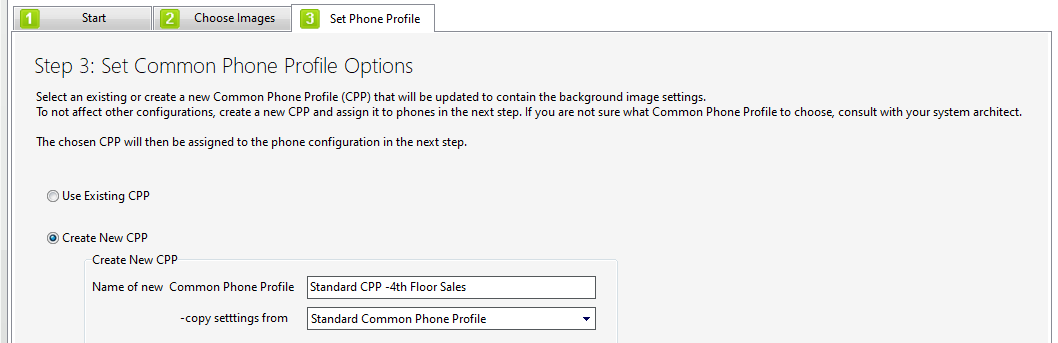
Choose between using an existing Common Phone Profile, or duplicating a CPP to make a new one.
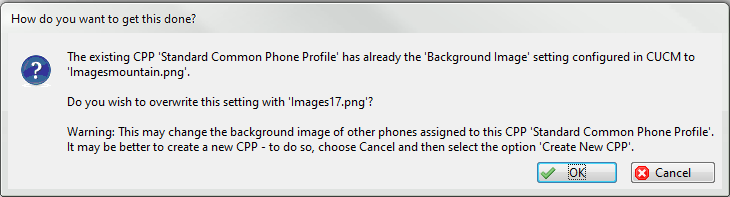
Depending on your choice, the following warning dialogs may appear:
oWarning dialog 1: Default 'Background Image' is already specified. There is already a default image set in the CPP. Overwriting it will change the filename in the 'Background Image' setting for all phones that already use that CPP, as well as for the phones that will be added in the next step. Choose to Overwrite, or choose Cancel and then select the option to create a new CPP.
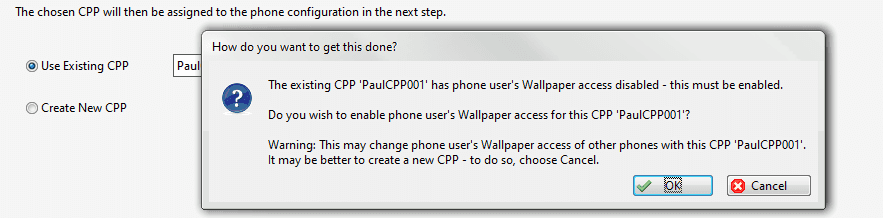
oWarning dialog 2: "The existing CPP <CPP name> has phone user's access to Wallpaper settings enabled". To set the background image, this setting must be disabled. This will affect phones already assigned to that CPP. Choose whether to let the tool disable user access to the Wallpaper menu, or to cancel the operation and create a new CPP.
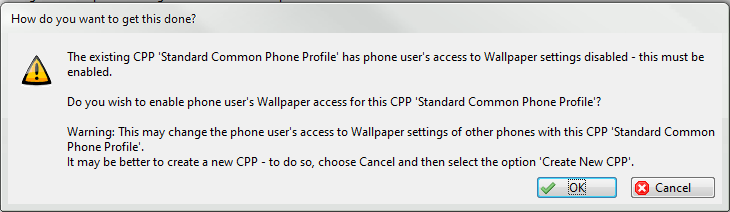
o Warning dialog 3: "The existing CPP <CPP name> has phone user's access to Wallpaper settings disabled". This option must be enabled if you chose to allow user access. This will affect all phones using that CPP. A second reboot of the phones will be required during deployment.
Step 4: Assign Common Phone Profile to Phones
The single image deployment will apply to all phones already assigned to the chosen CPP, unless you have created a new CPP. The Multiple Image Deployment scenario changes the image collection for all phones in the CUCM cluster, regardless of Common Phone Profiles . If you have chosen to set a default background image to the phone screens during a multi-image operation, this default image will be set only on the phones of the chosen CPP.
•Click the button [Add Phones] to select phones to assign the selected CPP. If the CPP is an existing one, the phones selected will be added to the current list of phones that use that CPP. We recommend that you create a new CPP, so that you can assign this new CPP to a new list of phones.
•Click [Next] to assign the Common Phone Profile to the selected phones, and move to Step 5
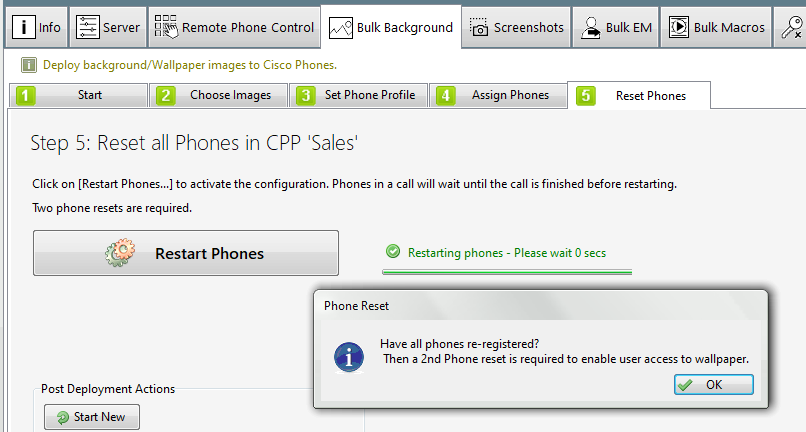
Step 5: Restart Phones
Click the button [RESTART PHONES] to restart all phones assigned to the selected Common Phone Profile.
•In 'Deployment Scenario A: Deploy a single image', the phones will reboot once.
•In 'Deployment Scenario B: Deploy multiple images', the phones will reboot the first time to apply the default image to the screen. Then, if you have chosen to allow user access to the wallpaper menu, a second reboot is required.
Phone restart notes
•The Tool will wait for a time between reboots and to consider the operation complete. However, it is possible that phones take a longer time for the image change to appear. This can range from seconds to minutes and depends on the performance of the Cisco environment (CUCM and phones).
•If a phone is in a call, it will restart only after the call has finished.
Please complete all rebooting steps until you see the completion message.
Completion
On completion, a dialog box appears to declare all operations completed. Please complete all rebooting steps until you see the following completion message
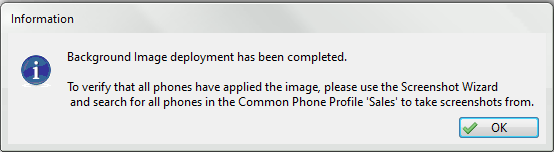
Verification of Background Image Deployment
You can use the Screenshot wizard to verify the successful deployment of background images to phones.
|

|
The Bulk Background Image wizard, along with all other bulk features, requires a Professional or Enterprise license and is not included in the Standard or Basic license.
|
|