|
|
How ITL files work
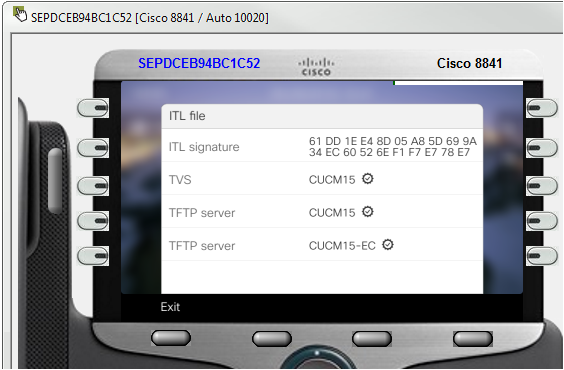
It is important to know that since Cisco introduced Security By Default (SBD) in CUCM version 9.0 and later, each phone automatically downloads and applies an ITL file. The ITL file contains the names of the CUCM servers. It can be seen on each phone when navigating to Settings > Security Configuration > Trust List > ITL file as per screenshot below.
|

|
Once a phone has downloaded and applied an ITL file, it will always re-connect to the servers listed in the ITL file - even when the DHCP settings in option 150 tell it to use a a different CUCM server. So, if the DHCP server option 150 is changed to CUCM-NEW and the phones are reset, they will NOT connect to CUCM-NEW but will re-register to their previous server information stored in the ITL file which is CUCM-ACTIVE.
So, what needs to be done? The ITL file needs to be deleted on each phone, then the phone will register to CUCM-NEW. Please note that each phone automatically reboots when the ITL file is deleted.
Note: Screenshots of phones can be easily retrieved with the UPLINX Phone Control Tool.
|
What is the catch here? Normally the ITL file can only be deleted manually on each phone, so if there are hundreds or even thousands of phones this might take some time. At one minute per phone, if there are 500 phones, it may take around 8 hours to perform this procedure manually. The alternative: Use the Free ITL Status Report combined with the Bulk Erase wizard of UPLINX Phone Control and it can be done automatically within minutes, all from your desk.

|
|